

How To Use Stovetop Percolator
Disclosure: We may get commissions for purchases made through links in this post.
There is something cornball most the bubbling of a percolator on the stove, and these days more and more people are turning to this archetype coffee brewer for that vintage feel, merely also for the rich and velvety coffee it produces. But how practice you lot properly utilise a percolator? We've researched methods old and new.
The basic steps to brewing coffee using a percolator are equally follows:
- Make full the reservoir with h2o.
- Measure and grind the coffee, so add together to the basket.
- Get together the percolator.
- Heat on stove over medium-depression heat.
- Once water is steadily bubbling, maintain heat for half dozen-viii minutes.
- Remove from heat.
- Remove java grounds.
- Bask your freshly percolated coffee!
Read more than to find out how to become all the perks from your percolator and how information technology compares to other methods of making the perfect loving cup of joe.
![A steaming percolator on a kitchen stove, How To Use A Stovetop Percolator [8 Easy To Follow Steps!]](https://kitchenseer.com/wp-content/uploads/2021/03/How-To-Use-A-Stovetop-Percolator-8-Easy-To-Follow-Steps-667x1000.png)
How To Percolate Java
1. Fill the reservoir with water
Once you lot accept used your percolator regularly, y'all should be able to center-ball the water level, just it's a good idea to mensurate the water when first starting. Use cold water, about four ounces or half a loving cup, for each serving of coffee. Next, pour the h2o into the reservoir of your percolator.
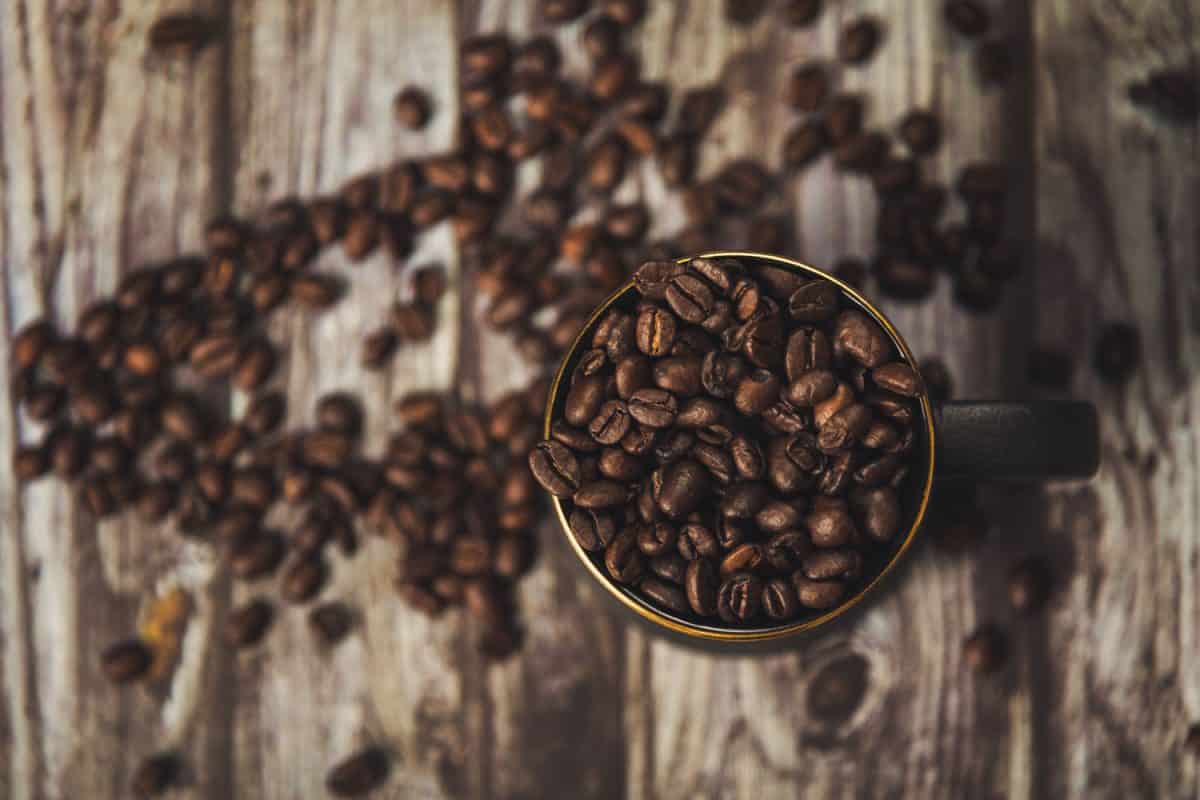
ii. Measure, Grind, and Add the Coffee
You will go the best results by grinding your own fresh java. Nosotros recommend starting with 30 grams (about one ounce) of whole beans for 2 cups of water, but you can adjust to your desired strength. Aim for a medium-course grind to go the most flavor without over-extracting your java or letting the grounds come up through the filter. Once your coffee is measured and footing, add information technology to the coffee basket of your percolator.
Coffee Grinding Tips
To get the best results when grinding your own beans, we recommend y'all use a burr grinder. Burr grinders are made of two abrasive cones called burrs that rotate, grinding whatsoever comes between them until it can pass through. Because of this design, they get the almost controllable and consequent results. Adjust the distance between the burrs for different applications.
Professional burr grinders tin get expensive quickly, merely affordable models for the home are bachelor. Cuisinart, known for their high-quality food processors, make a good burr grinder for the home coffee aficionado.

Click here to see information technology on Amazon.
Y'all tin can also employ a spice grinder if you already take one at home, but the beans will grind more unevenly, leading to some fine dust that will likely make it into the finished coffee. Besides, be sure to thoroughly make clean a spice grinder earlier using information technology; otherwise, your coffee will taste similar the concluding curry powder you ground up in information technology.
iii. Get together the Percolator
Percolators come in different styles, and they don't all reassemble in the aforementioned way. For that reason, it's best to refer to your possessor's transmission for instructions, at least until you get the hang of it.
4. Heat over medium-low heat
A medium-low flame is your friend when percolating coffee. It may exist tempting to plough up the estrus so you can accept your coffee sooner, specially if it's your first cup of coffee in the morning time, but patience is key hither! On high rut, you'll get an over-extracted, acrid cup of coffee.
Monitor your percolator as it slowly heats up. Many traditional percolators have knobs fabricated of transparent glass or plastic. When the h2o is hot enough to mash your coffee, you will see bubbling appear in this knob.
You lot want the bubbles to be a couple of seconds apart for optimal results. If it'southward a constant flurry of bubbles, your h2o is boiling. This will lead to bitter, unpleasant coffee. If they are more than a couple of seconds autonomously, you can gradually plough up the rut to discover the thermal sweet spot.
5. Wait for 6 to 8 minutes
Set up a timer and keep to monitor your percolator to make sure it isn't getting too hot or too cold. The h2o you meet in the knob volition offset to darken and plough java-colored, a sure sign that your java is properly percolating. Nosotros recommend vi minutes for a milder cup of coffee or viii minutes for a stronger brew, but really it's upwards to you! Alter the time to get your coffee to your personally desired intensity.
6. Remove from oestrus
When the time is up, turn off your stove and move your percolator off the estrus. Proceed in heed that the whole percolating apparatus will be very hot at this point, so apply an oven mitt to protect yourself and a kitchen towel to protect your countertop. It'south best to wait a couple of minutes once you've removed it from the oestrus and then the coffee and the percolator can both absurd down a chip.
7. Remove java grounds
Before you pour your coffee, remove the basket with the coffee grounds, discard them, or add them to your compost pile. If you pour earlier removing the grounds, they're going to go into your cup, and no one wants grainy coffee. Recall that your percolator is still hot, though, so accept the necessary precautions every bit you remove the grounds.
8. Enjoy!
And there you have it! A great loving cup of percolated coffee is yours to savor. Percolators make stronger, richer coffees than most baste-brew processes that go great with a chip of cream or steamed milk froth. Or just relish a dark, black cup of java.
Stovetop and Electric Percolators
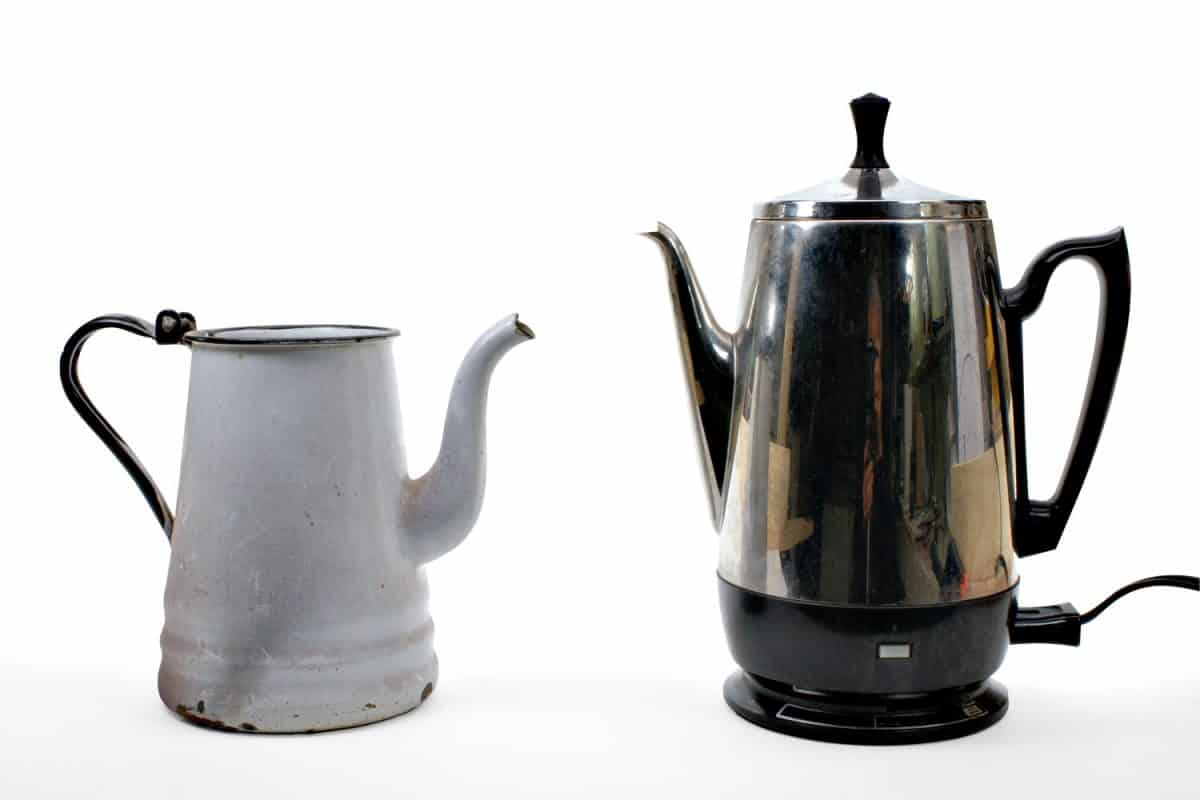
These days, you'll discover more than than just the standard stovetop percolator. There are a lot of electrical percolators on the market too. They lower the learning curve for making percolated coffee, every bit they don't require the monitoring and temperature control that stovetop models do.
The electric percolator from Presto has all of those advantages and a sleek, mid-century influenced design that combines modern convenience with nostalgic style.

Click hither to see it on Amazon.
For the truly classic approach, though, a good stainless steel stovetop percolator with a transparent knob, like the Yosemite model from Farberware, is the way to go.

Click hither to see information technology on Amazon.
If you're looking for a unlike kind of nostalgia artful, you lot might want to ditch the sleek stainless steel for a archetype enameled percolator that'due south keen for indoors and outdoors, like this one from GSI Outdoors.

Click hither to run into information technology on Amazon.
Is A Moka Pot A Percolator?
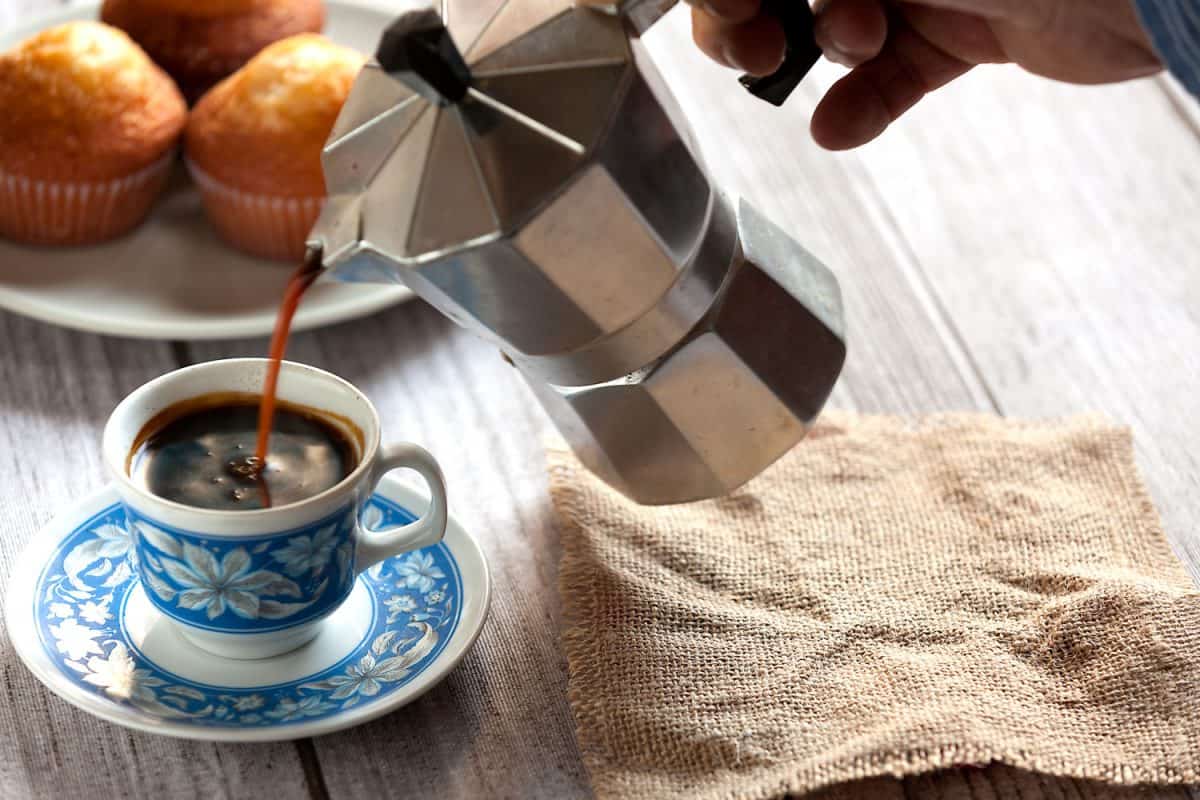
Percolators and Moka pots are both stovetop coffee makers that produce rich, total-bodied cups of java. But the perking process is not the same. Percolators employ an internal stem to funnel hot water over the coffee grounds, which and then goes back into the main reservoir.
On the other manus, Moka pots aim to replicate the espresso-making process past edifice up steam pressure that pushes the coffee through a stem to a reservoir above the water and grounds.
Because of this, Moka pots are less likely to over-extract the java beans, as they don't cycle the java through the beans continuously the way that a percolator does. They can also use a finer grind than percolators do.

Click here to come across the Bialetti Moka Express on Amazon.
What Is The Best Coffee To Use In A Percolator?
While you can percolate any roast of coffee you like in a percolator, nosotros recommend starting with a medium roast. Percolators create darker, full-bodied cups of java than pour-over methods. Fifty-fifty many who like dark roasts for their baste-brew notice that the percolator makes these overly bitter.
Light roasts tend to accept more subtle flavors better coaxed out at lower temperatures than the percolator. For these reasons, nosotros suggest trying a medium roast, at least at first, and and so adjusting to observe your personal favorite.
Is Percolator Coffee Better Than Baste?
Percolators used to be the standard for making coffee, but drip coffee machines somewhen replaced them. Determining the better of the two is a matter of taste. Considering they bicycle the hot water through the grounds, percolators can excerpt more from java grounds and produce a thicker, stronger finish production. You'll get a richer java season and sense of taste more of the differences between different beans than most baste-brew machines.
The perking procedure also requires more attention and technique, and there is a flake of a learning curve when you get started with a percolator. Compared to a machine where you just fill, button a push button, and expect, it can seem like a hassle.
Choose the method that best suits your desires and your lifestyle. It'southward bang-up to accept both handy: the drip brew for when you just actually need a cup of coffee to pry your eyes open up and the percolator for when you're taking your time to enjoy a richer experience or to balance out a sweet pastry.
Which Is Better: Percolator Or French Printing?
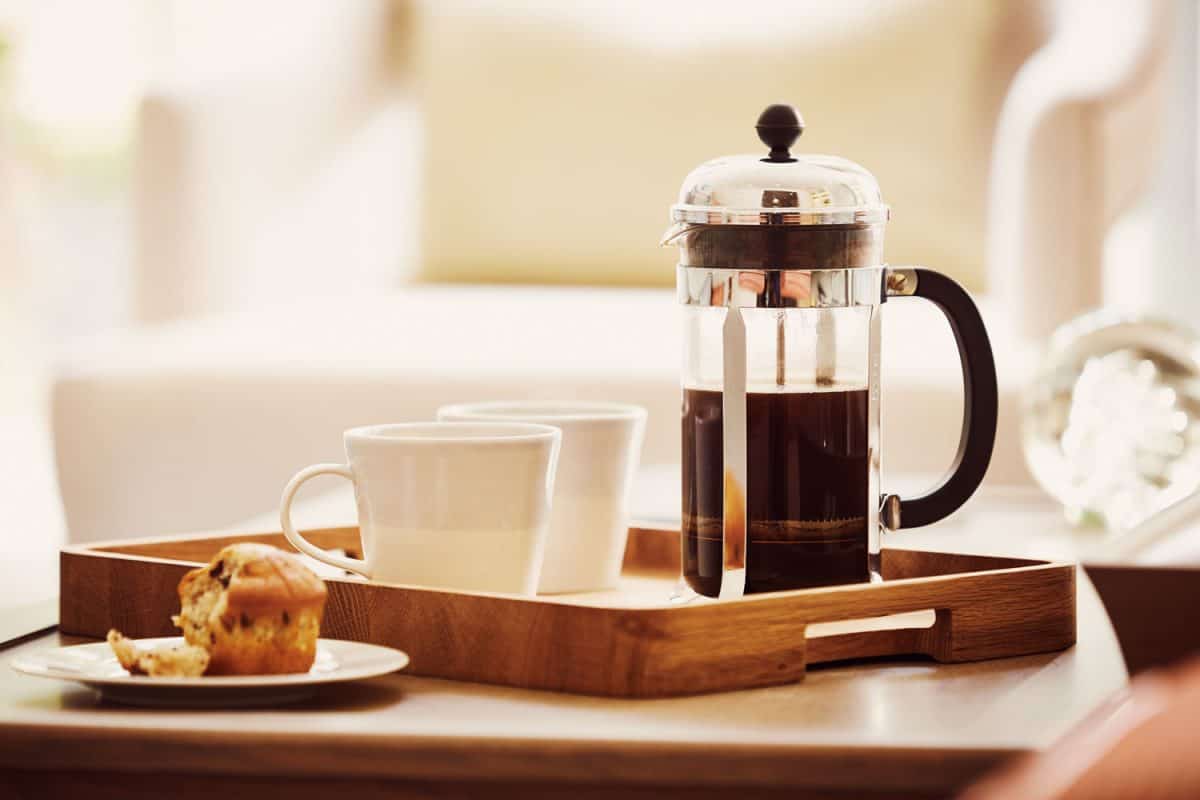
Another popular selection for making coffee at home is the cafetière or French printing. Hot water is poured over java grounds and immune to steep for several minutes. Once the desired amount of time has passed, you lot printing down on a plunger that pushes the grounds downwards to the bottom of a pot with a mesh filter assuasive the coffee to remain above.
The coffee brewed in a French press is similar to that of drip-brewed java rather than percolated coffee. It tends to be less viscid and intense than percolated coffee. Then which is ameliorate? That is all a matter of taste. I advantage the French printing has over both drip-mash and percolator coffee is that information technology looks perfectly picturesque sitting on your table as y'all read the paper or snack on pastries.
How Exercise You Continue Coffee Grounds Out Of A Percolator?
The key to keeping your percolated java ground-free is having properly basis java. This means using a setting on the medium-fibroid to coarse grind.
If y'all find that y'all continue ending up with a mouthful of grounds when you potable your coffee, effort adjusting your grinder to a coarser setting. In case y'all are using a blade-grinder instead of a burr grinder, try grinding your beans in smaller batches then y'all can monitor them more closely and make sure they're not turning out too fine.
If java grounds are withal ending upwardly in your coffee, it might exist that yous aren't removing them from the percolator before pouring your cup of joe. Afterwards you've percolated your coffee and information technology's been off the heat for a couple of minutes, remove the ground basket from your percolator and discard the grounds. Have care and practise it slowly, and so you don't accidentally lose whatever grounds into the reservoir in the process.
Tin can Yous Use Regular Ground Coffee In A Percolator?
Most pre-ground java is intended to be used in drip machines that use paper filters or fine wire-mesh baskets. These grounds are far too fine for percolators and will inevitably terminate up in your coffee. For this reason, it's best to purchase whole beans and grind them yourself. This will likewise extend the shelf-life of your pre-brewed coffee and go more than flavor into your cup.
If you take no way of grinding at home, though, in that location are some options. Some java companies at present sell pre-ground options that are labeled coarse ground. These will fare ameliorate in a percolator than the standard stuff.
Another option is to grind your coffee in the store. Nowadays, many grocery stores sell some java by weight and have their own grinders. Make sure to select a coarse or medium-coarse grind for the best results. Read more about coffee choice at "Do You Need a Special Coffee for a Percolator."
Final Thoughts
Percolators don't just accept usa dorsum to simpler times; they also make a cracking loving cup of java. At present that you know how to make it yourself, yous're sure to be well-caffeinated on your trip downwardly retentiveness lane. Read more about percolator care and maintenance at "How Do You Clean The Inside Of A Percolator?"

How To Use Stovetop Percolator,
Source: https://kitchenseer.com/how-to-use-a-stovetop-percolator/
Posted by: kongnoestringthe.blogspot.com
0 Response to "How To Use Stovetop Percolator"
Post a Comment